Depending on the type of release you would like to promote, you can choose to create a Pre-Save or Smart Link.
Pre-Saves are used to promote releases that have not yet come out so you can market to fans ahead of your release date.
On Feature.fm, your Pre-Release links automatically convert to released Smart Links when your music comes out on release day and pulls in stores automatically. Most links in Feature.fm start as a Pre-Save, so you can follow the instructions below to create your first Pre-Save.
Smart Links are used for released music which have come out already or to promote other social initiatives you may want to use on your social media platforms such as a YouTube video or Live Stream.
If you wish to create a released music Smart Link instead, you can follow the instructions in this article:
Setting up your Pre-Save
1. Create your first Pre-Save landing page
2. Set the date & time of your release
3. Enter in a scan source for your release
4. Add Post Pre-Save Destinations & Spotify Multiple Follow
5. Customize your URL
6. Upload artwork, set titles & descriptions
7. Confirm your Store Order & Custom Button Text
8. Turn on Email Collection (Optional)
9. Turn on Social Icons (Optional)
10. Customize your social cards (Optional)
11. Advanced Settings & Retargeting Pixels (Optional)
For a demonstration on how to set up your first Smart Link or Pre-Save watch below.
1. Create your first Pre-Save landing page
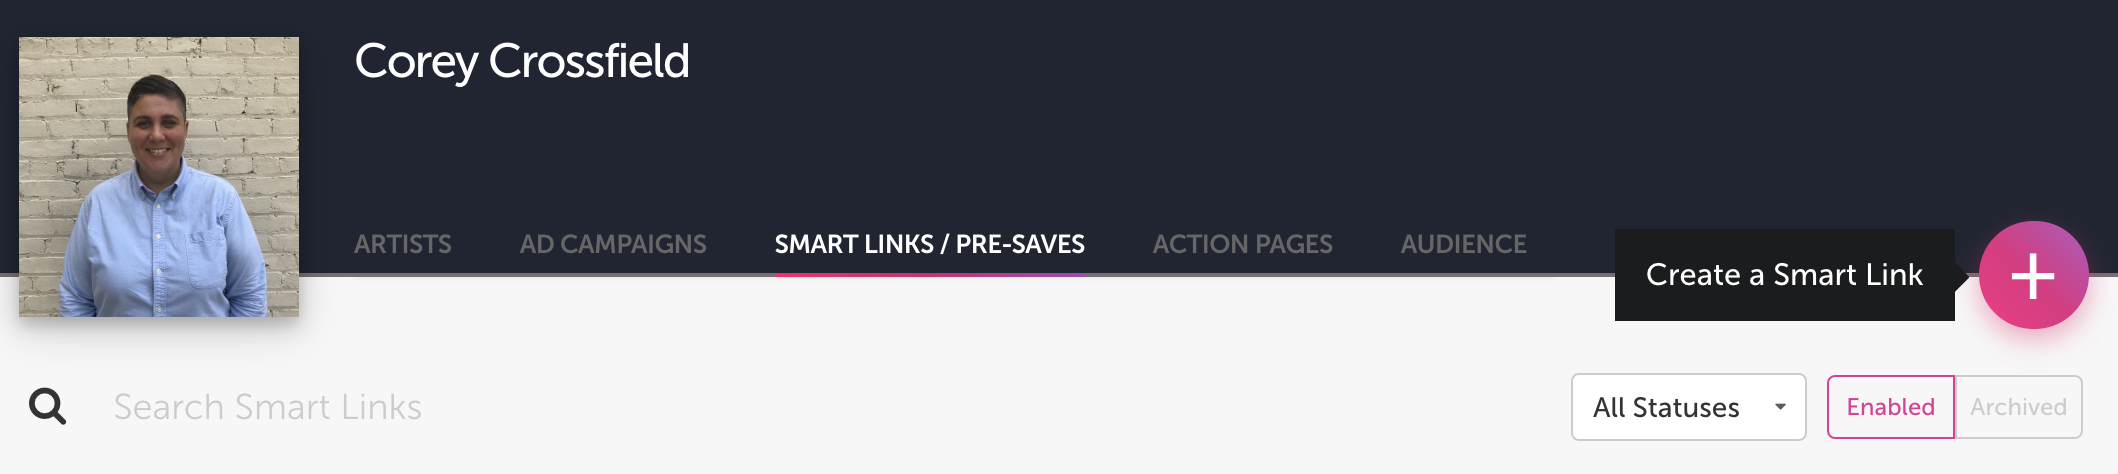
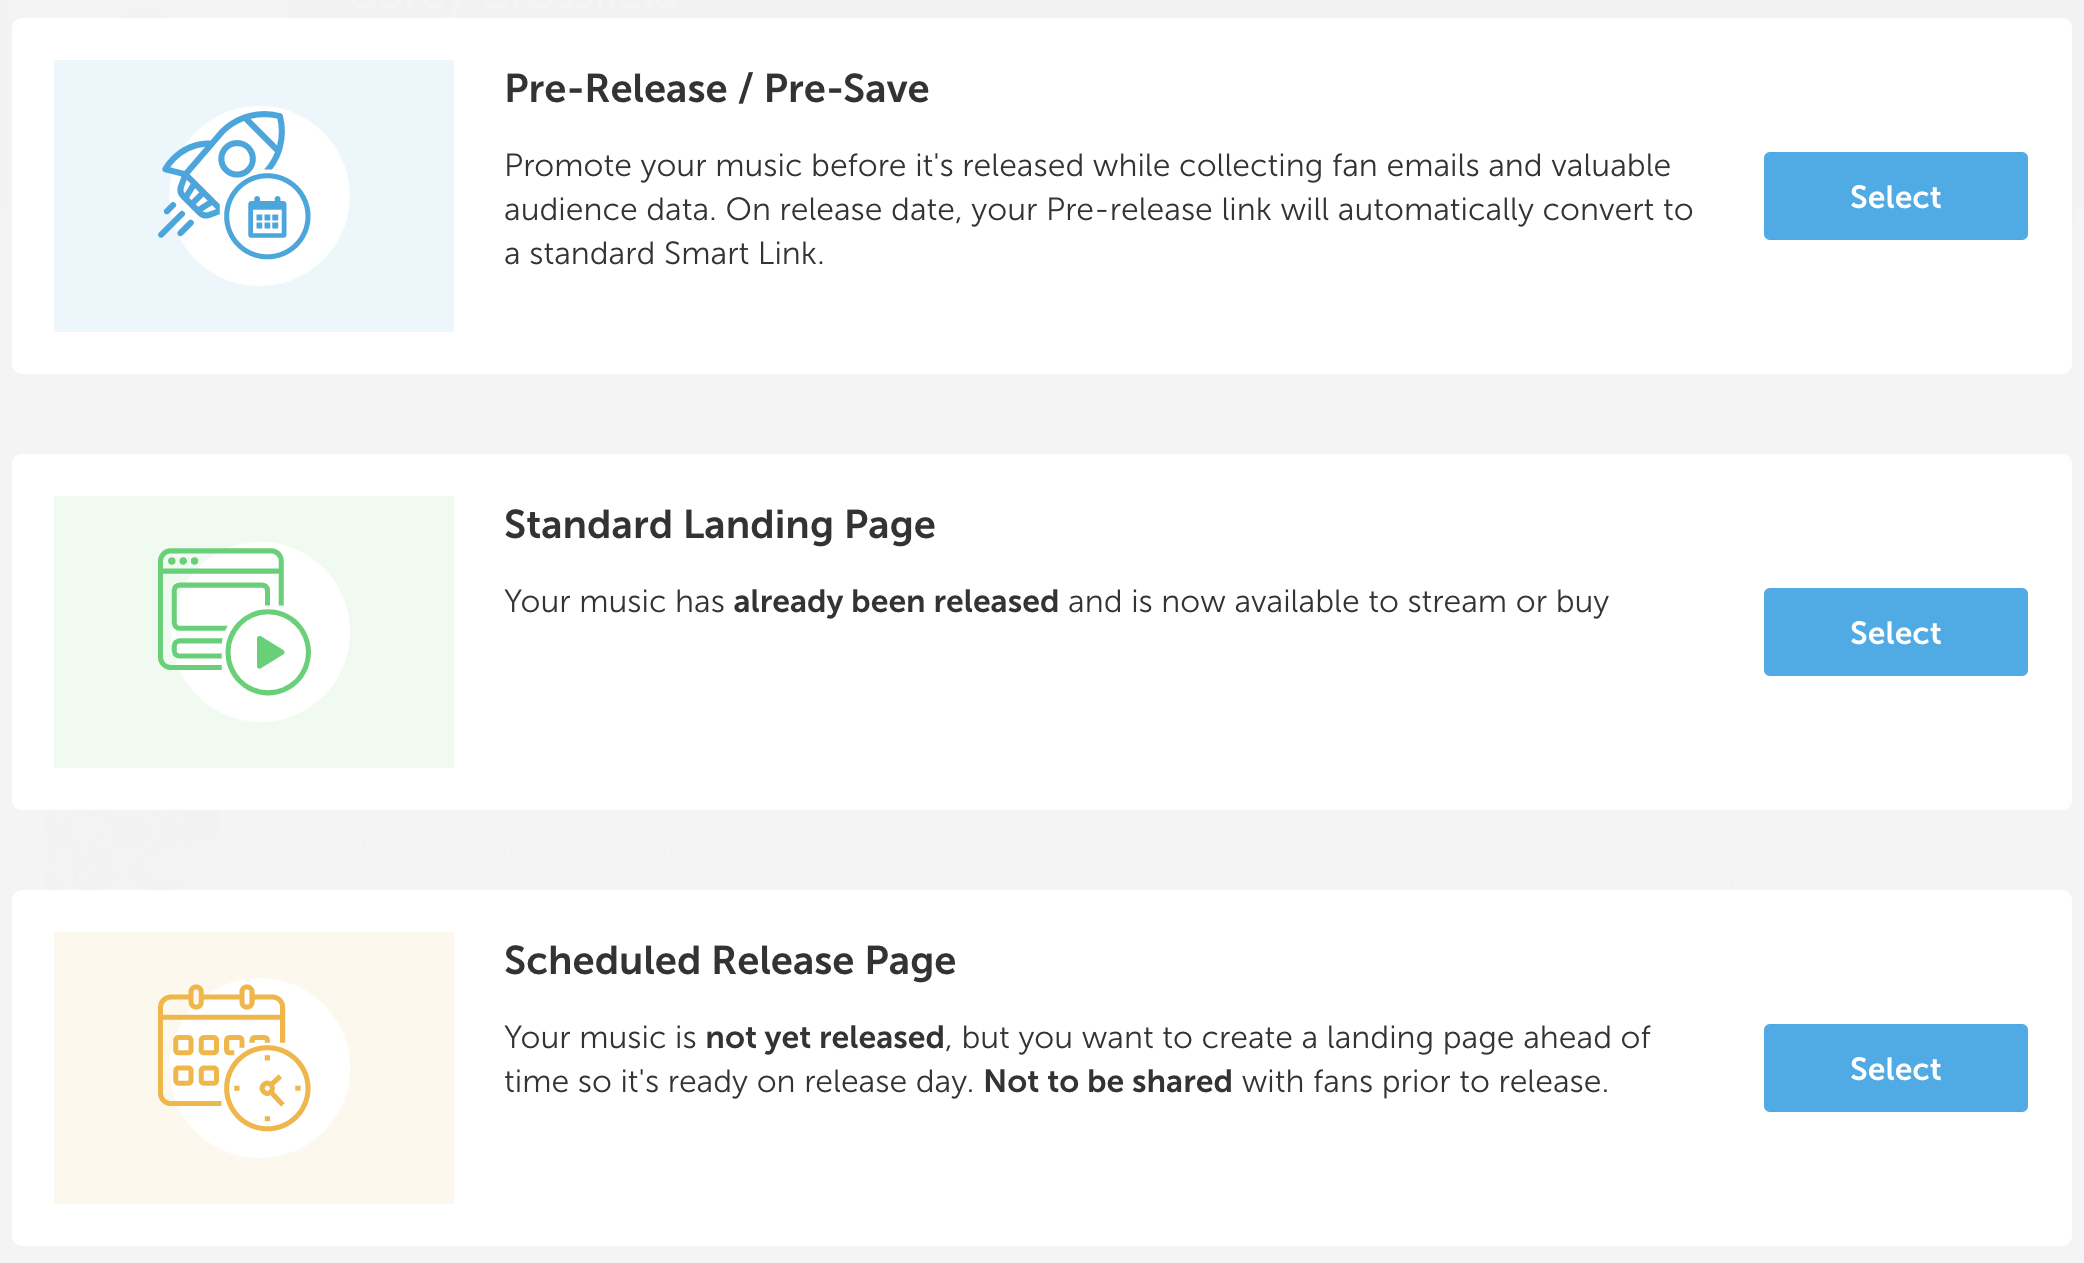
Head over to the Smart Links/Pre-Save tab on your Feature.fm homepage and then click the + icon and selecting "Pre-Release / Pre-Save" as the link type.
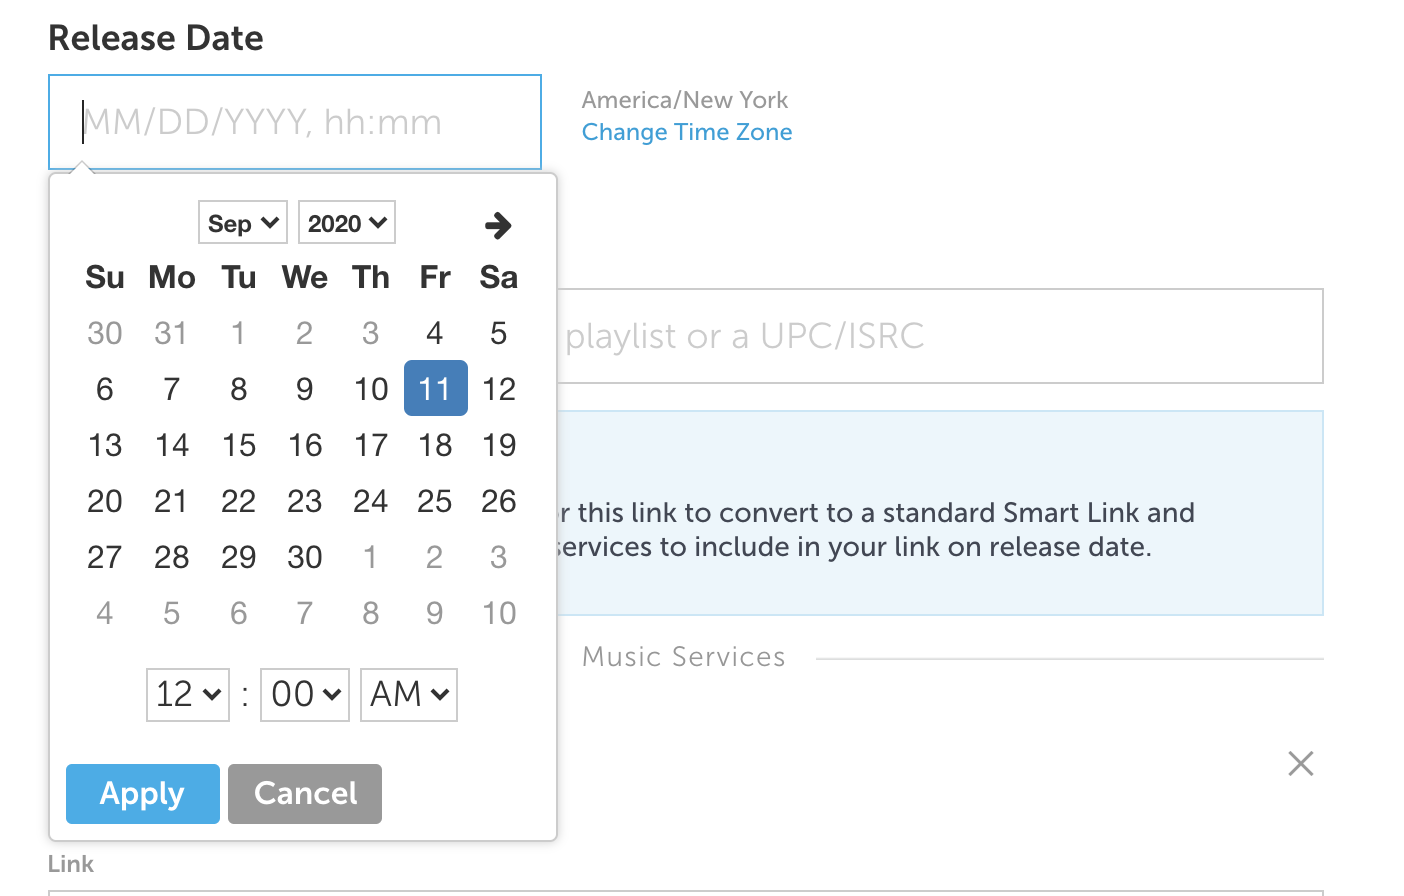
2. Set the date & time of your release
Set you release date and time that your music will be coming out. This will be used to complete your Pre-Saves and convert your link into a released Smart Link.
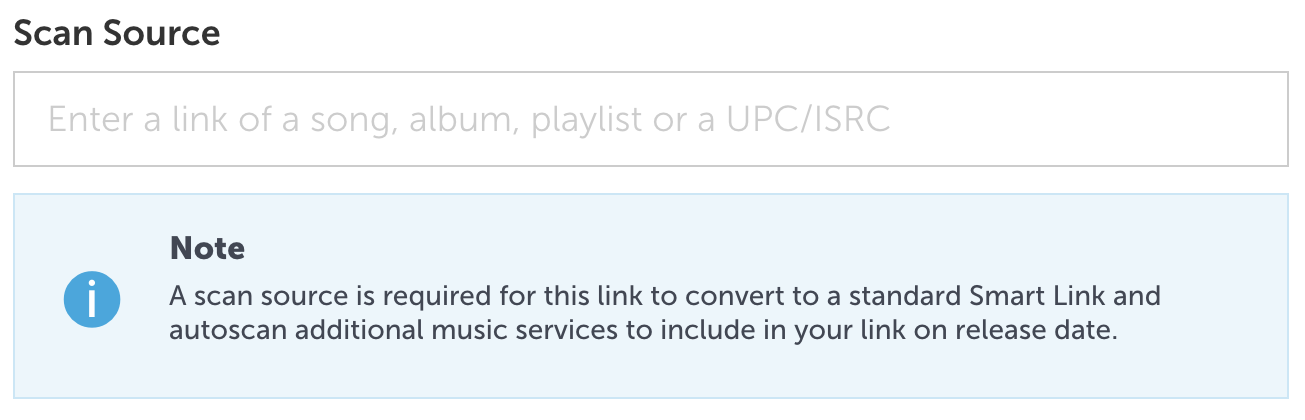
3. Enter in a scan source for your release
We suggest using an ISRC or UPC. If you do not have this yet, leave it blank and add it later. Don't worry, your pre-saves and pre-releases will still work.
4. Add Post Pre-Save Destinations & Spotify Multiple Follow
You can customize where you want fans to go after they pre-saves on Spotify, Apple Music, Deezer and Tidal by entering in a post pre-save destination URL for further promotion (Hint: use this to push an exclusive merch item or a livestream).
For Spotify you can enter "Multiple Follows" meaning fans will also your Artist Profile, a Playlist or a User when they Pre-Save. You can enter up to three items for your fans to follow including a playlist, an artist profile, or a user profile.
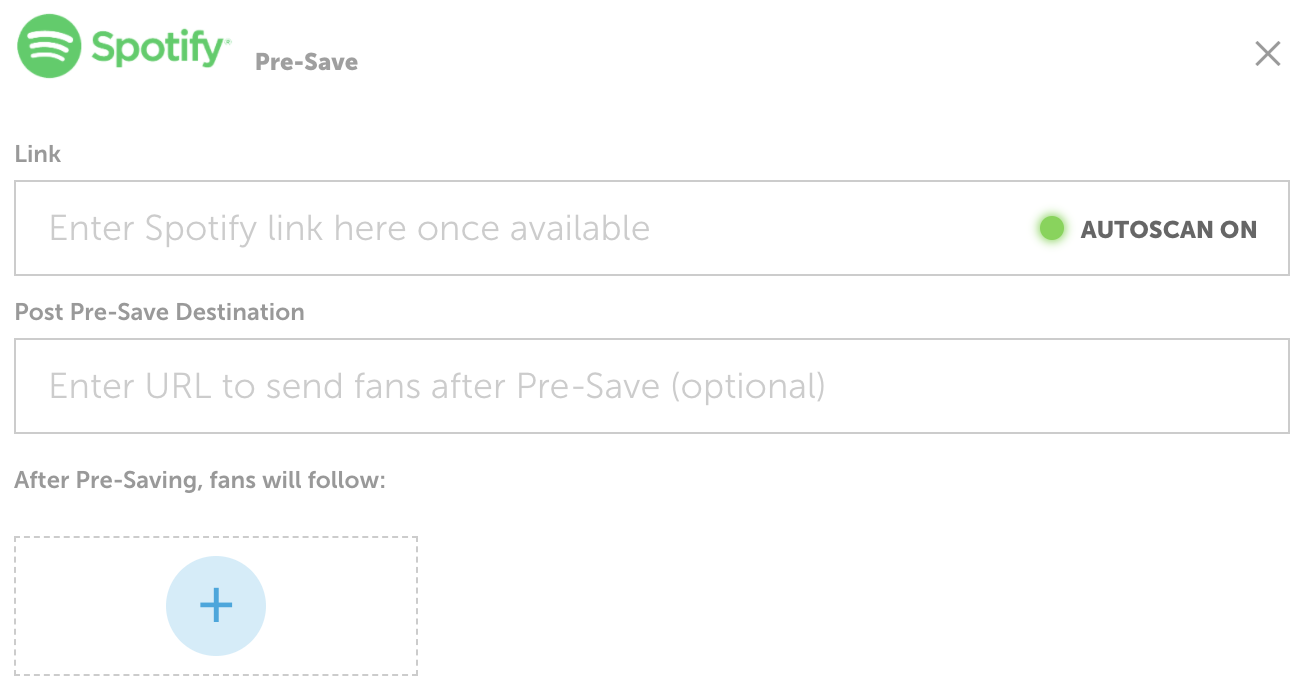
Give the rest of the stores you've selected a once over and click Next.
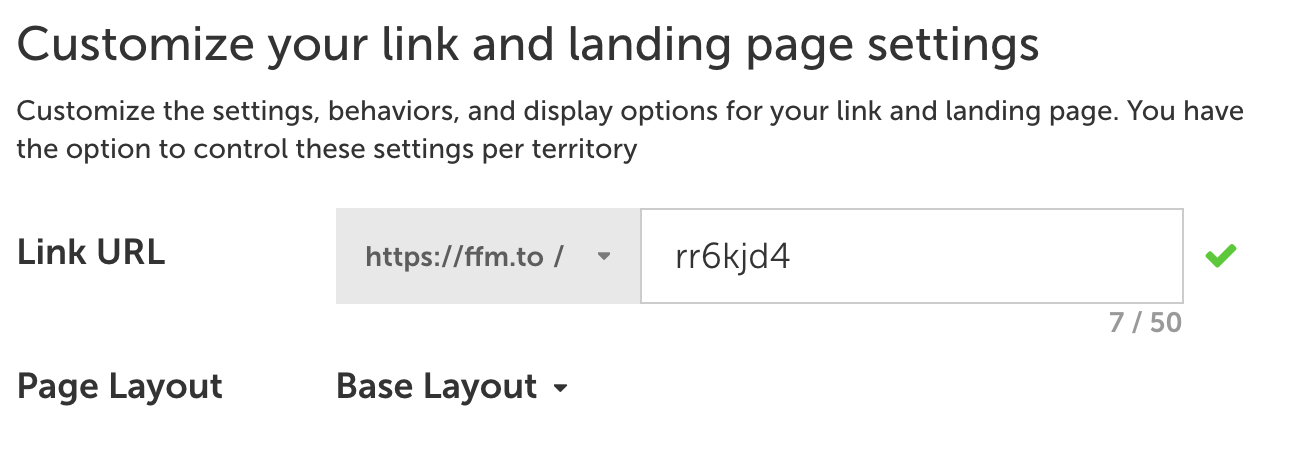
5. Customize your URL
Your URL starts with "ffm.to/" and you can customize what comes next. You can also select to use the Sub-Domain you entered in your Account Settings.
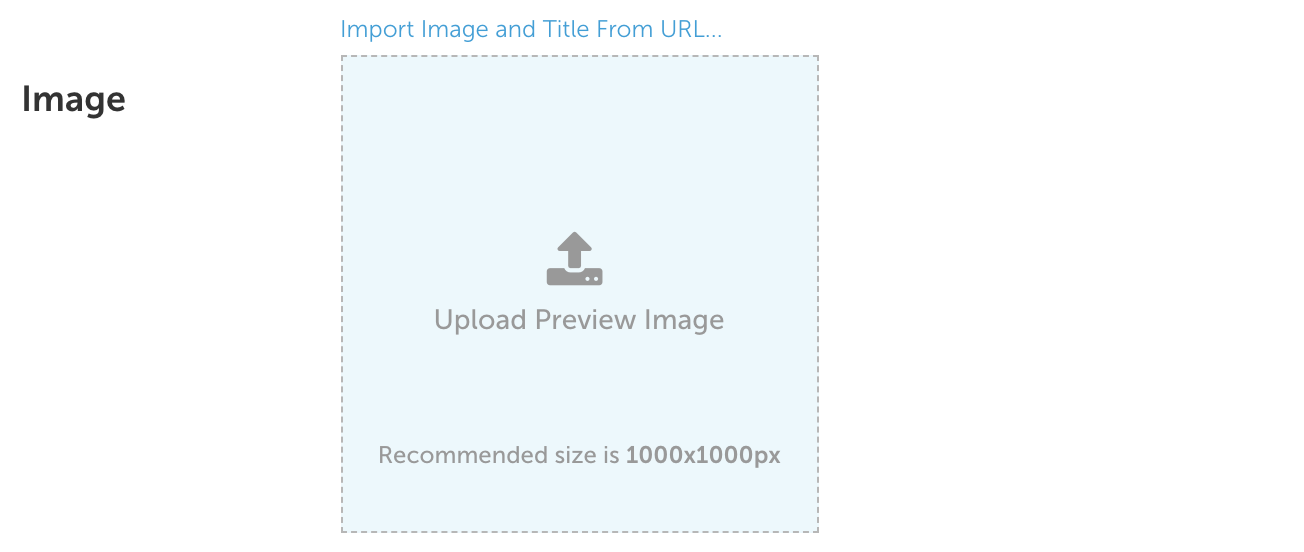
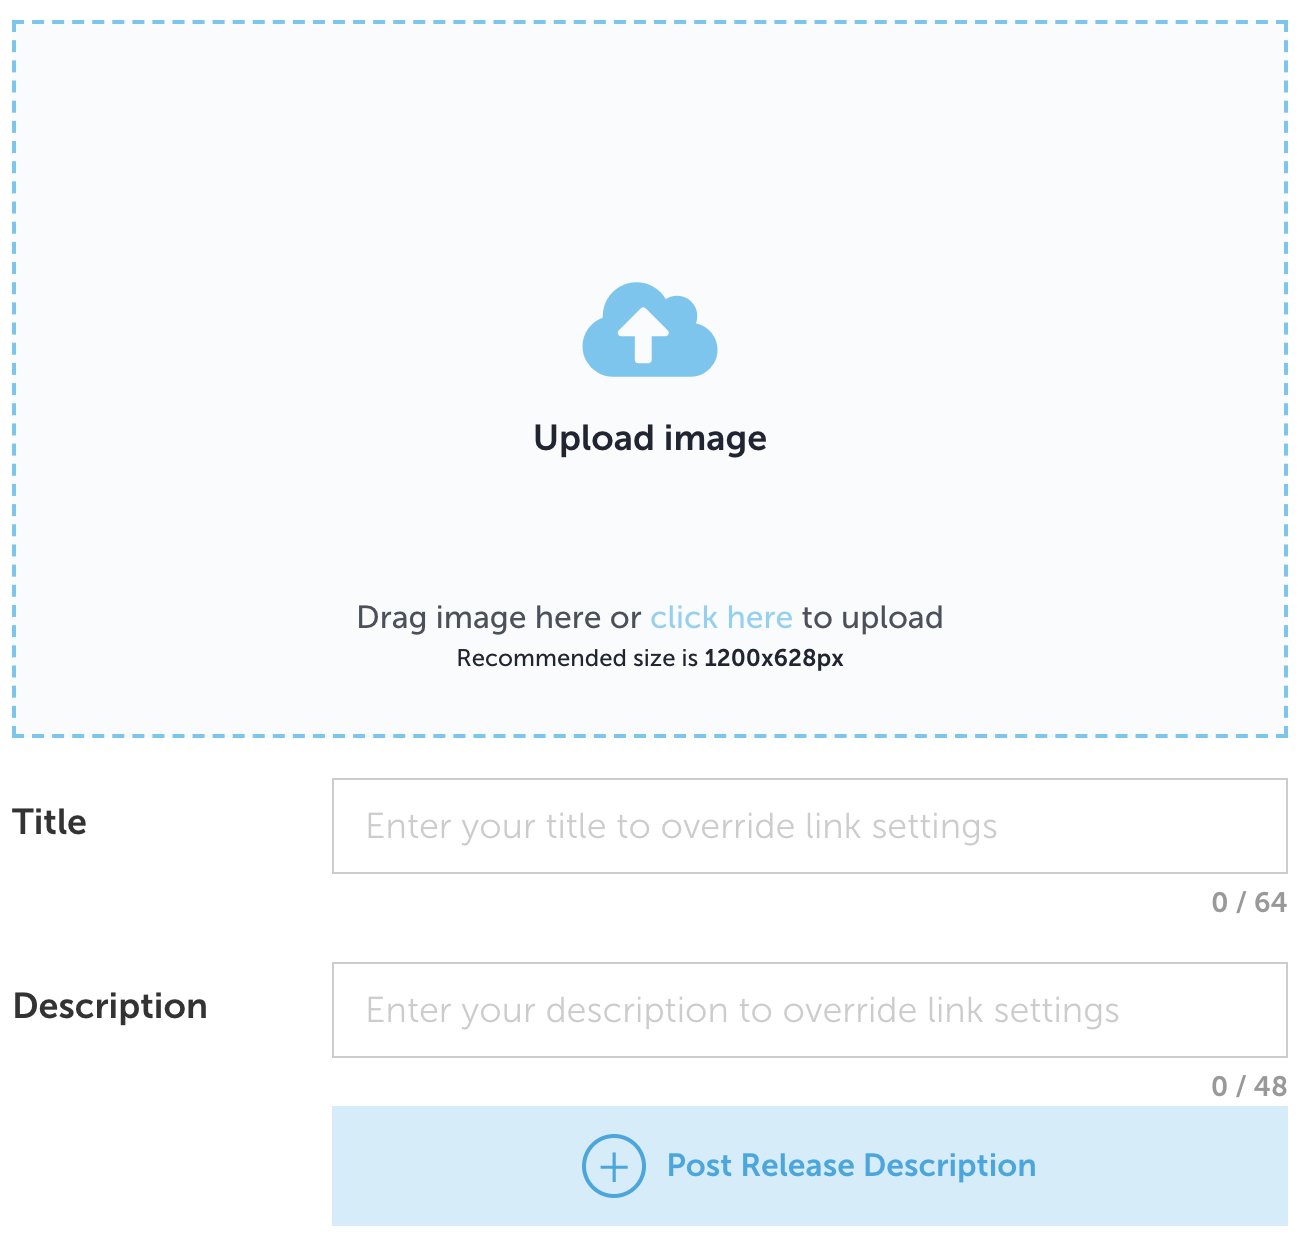
6. Upload artwork, set titles & descriptions
You can upload an image or can enter in a URL for your release from your distributor to automatically import the artwork.
If you want to use a music clip or YouTube video, you can select one from many of the DSPs.

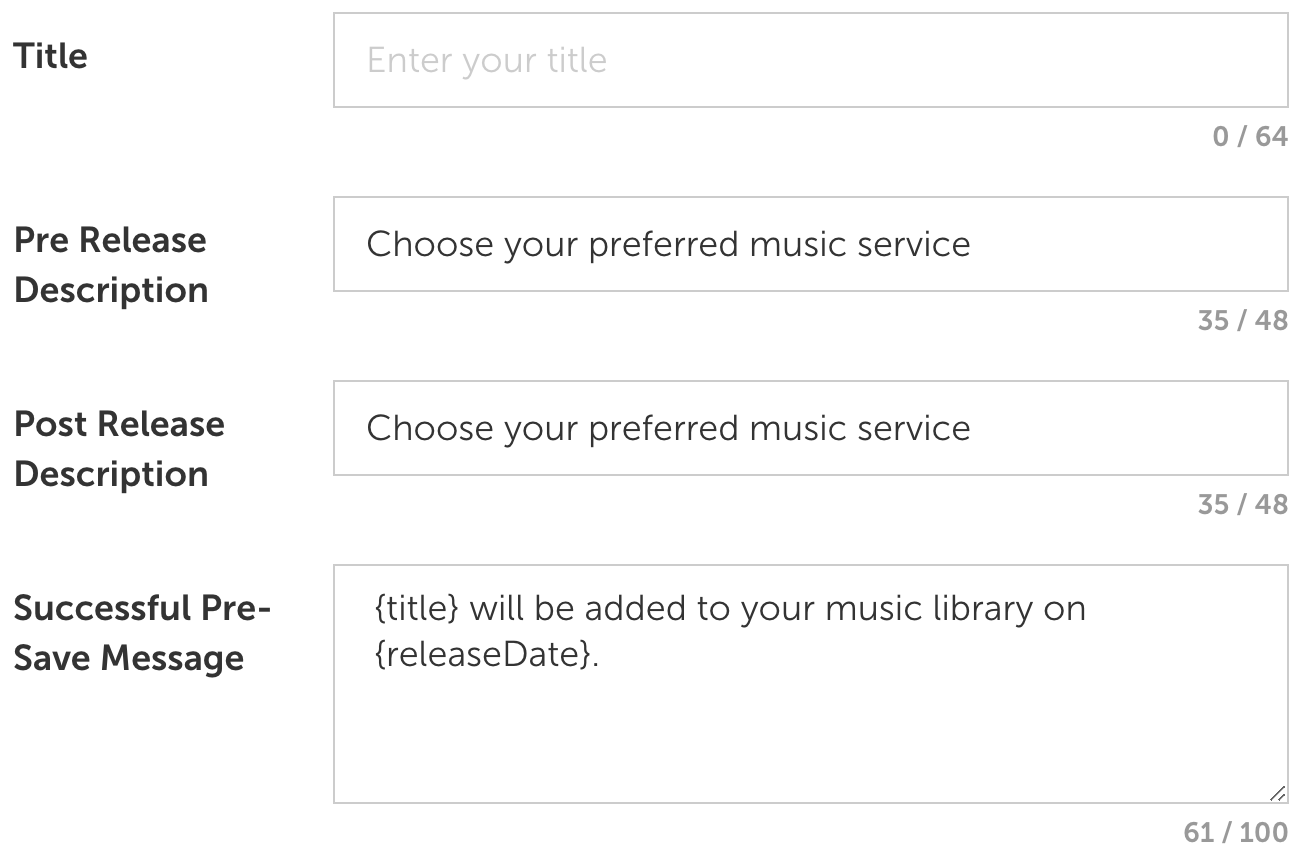
You can adjust the Title of your release to be something a bit more on brand for your voice. The next aspect to edit is the Pre-Release and Post-Release copy where you can set the copy for before and after your release so you don't have to update on release day.
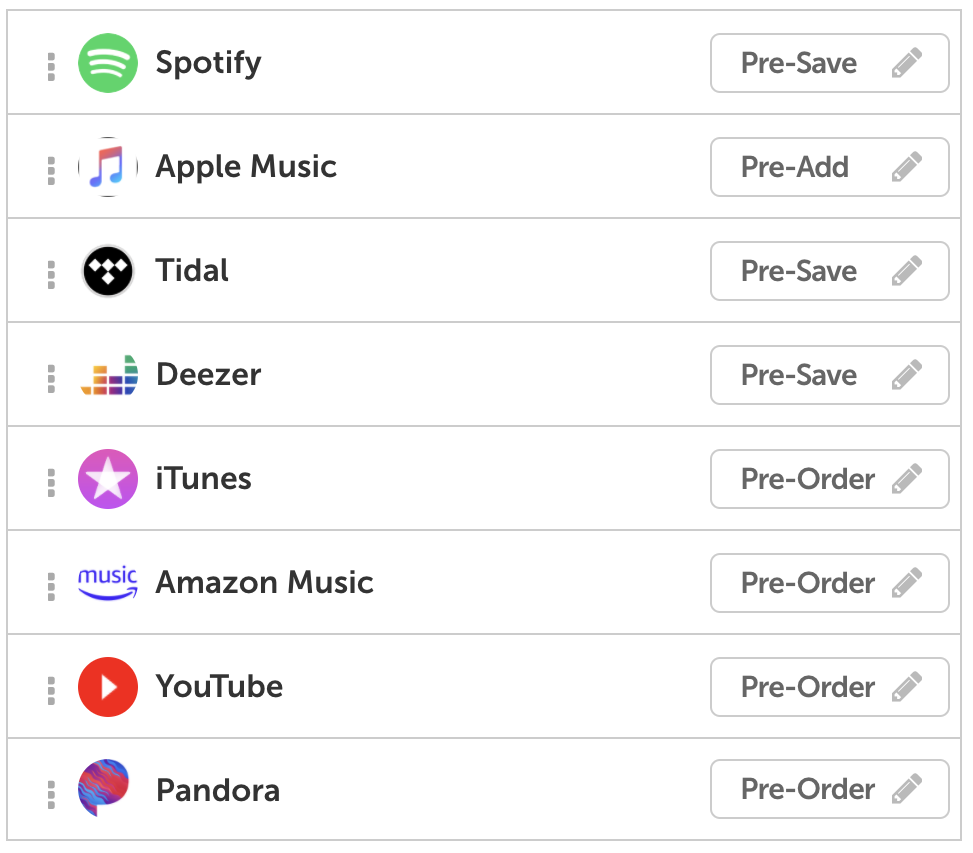
7. Confirm your Store Order & Custom Button Text
Take a look at the rest of the settings including your store order to make sure it's displayed how you'd like it to look.
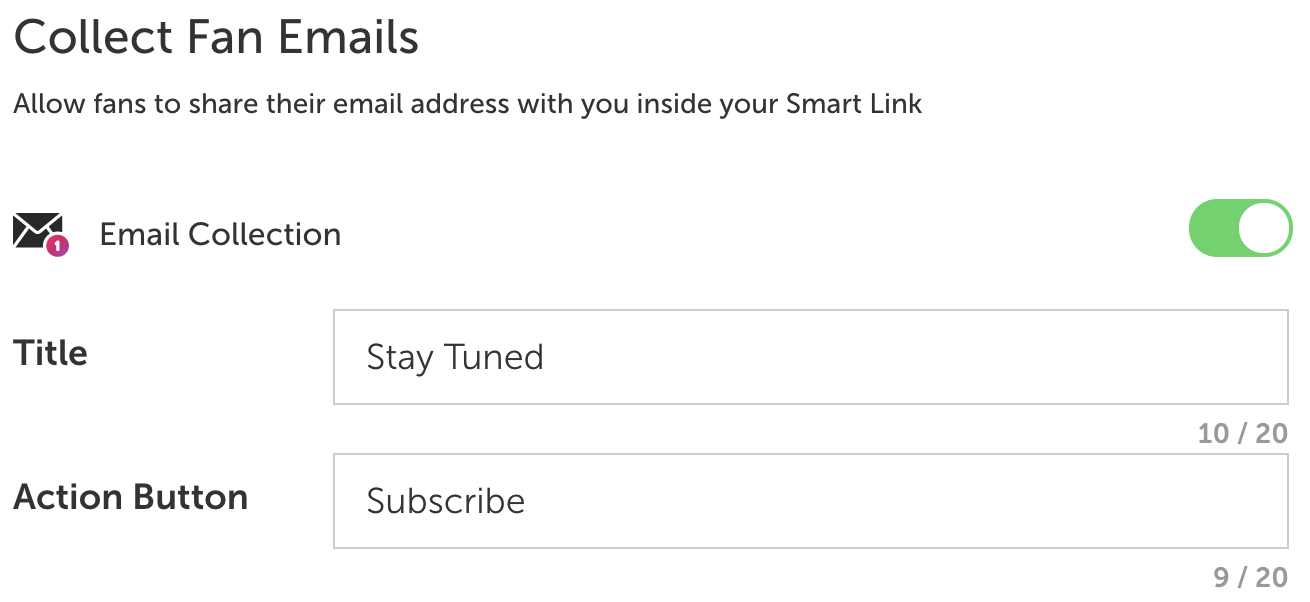
8. Turn on Email Collection
Emails are a huge part of any release campaign so make sure on the next page called, Email Collection, you have it toggled on to capture as many emails as you can.
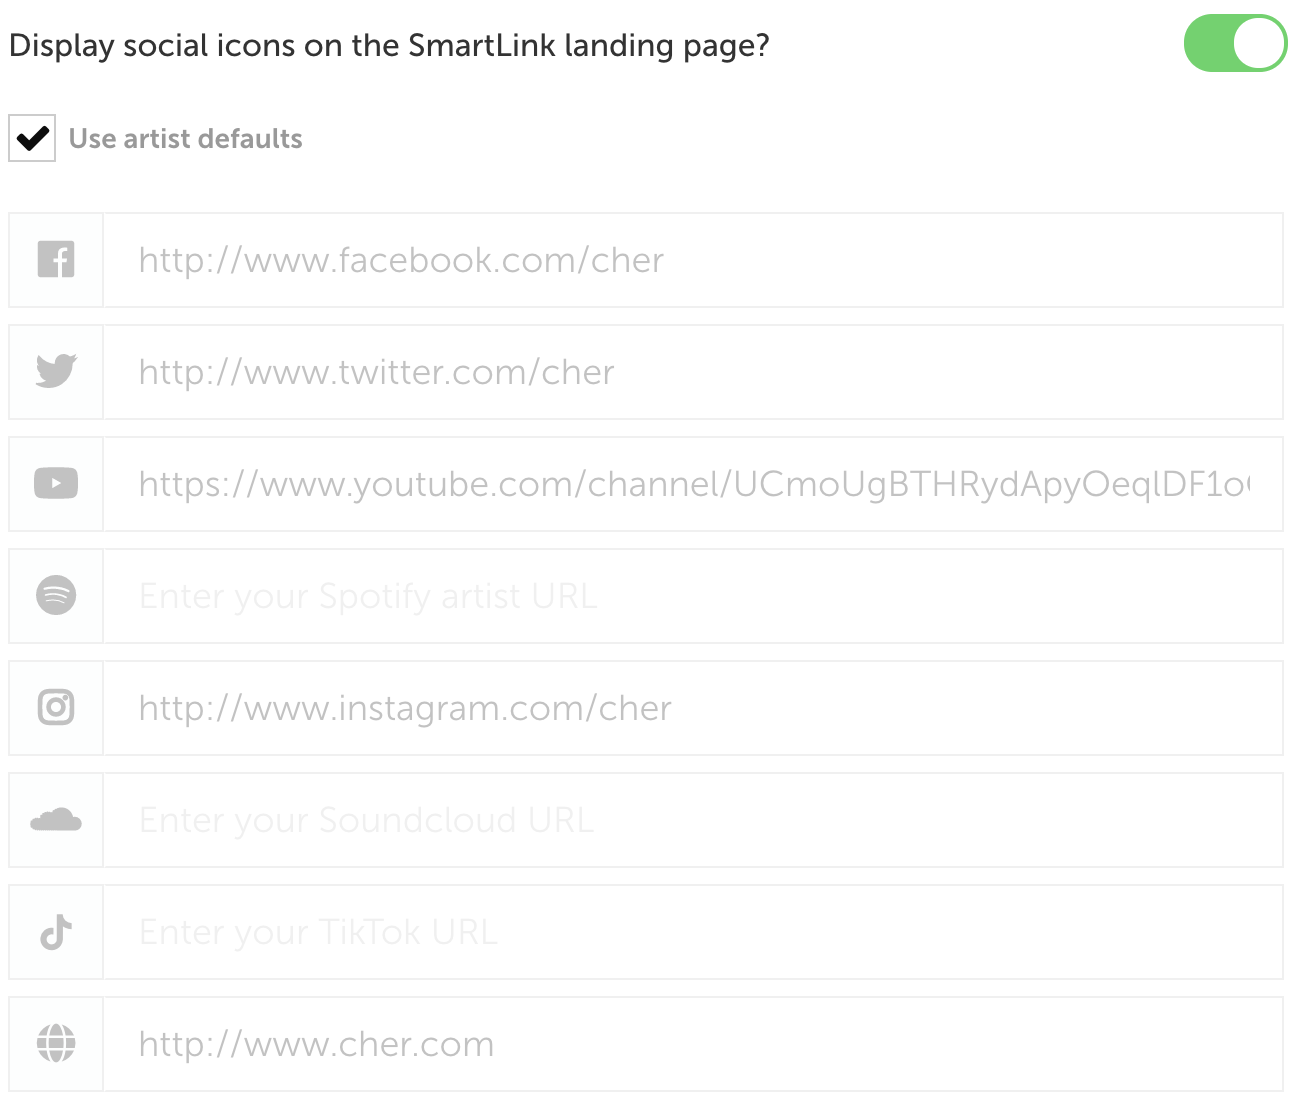
9. Turn on Social Icons (Optional)
You can include your social links on the landing page. You can turn these on so they can be displayed on your landing page.
10. Customize your social cards
Your social cards control what your link previews look like when you share on social media like Twitter and Facebook. Customizing this image will ensure your links look great when you share.
Edit your social cards for Facebook and Twitter on the next page for it to reflect exactly what you want shared.
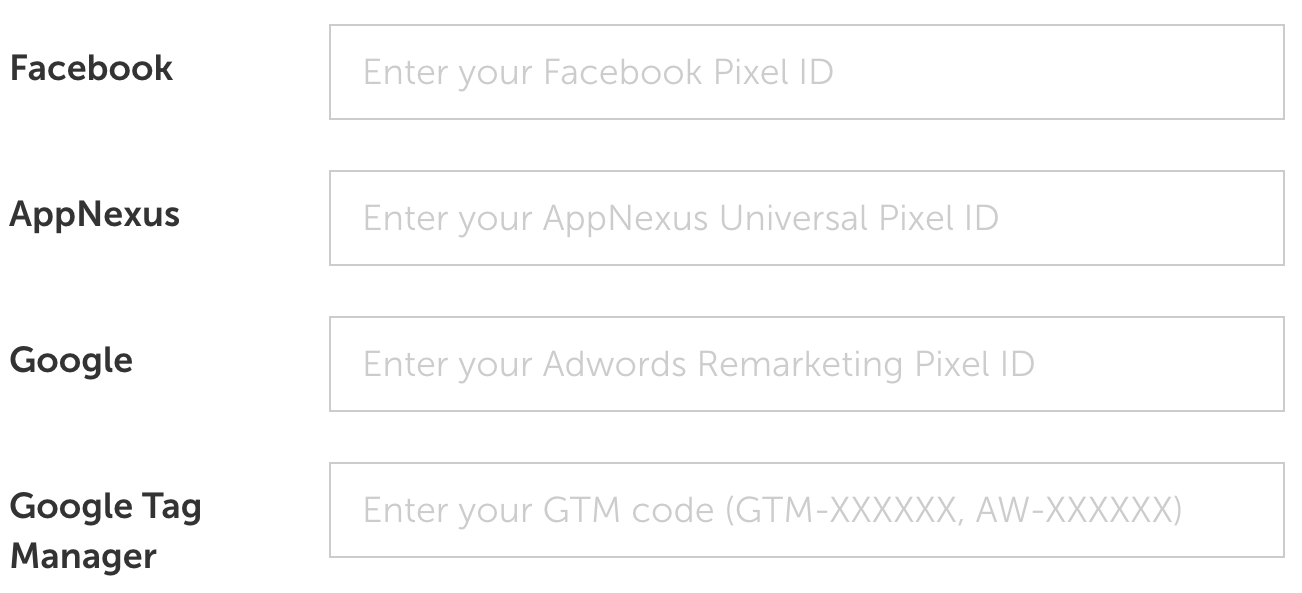
11. Advanced Settings & Retargeting Pixels
On the Advanced Settings page, if you’ve entered in your retargeting pixels, you will be able to capture retargeting events you can use to advertise on Facebook, Instagram and Google. Your pixels will be included here automatically if you added them correctly in your Account Settings on Step 1. Otherwise, you can enter them here.
Congrats you just created your first Pre-Save Link.
For some best practices on setting up your Pre-Save for success check out this webinar we did to help your upcoming release.