How To Create an Internet Radio Campaign
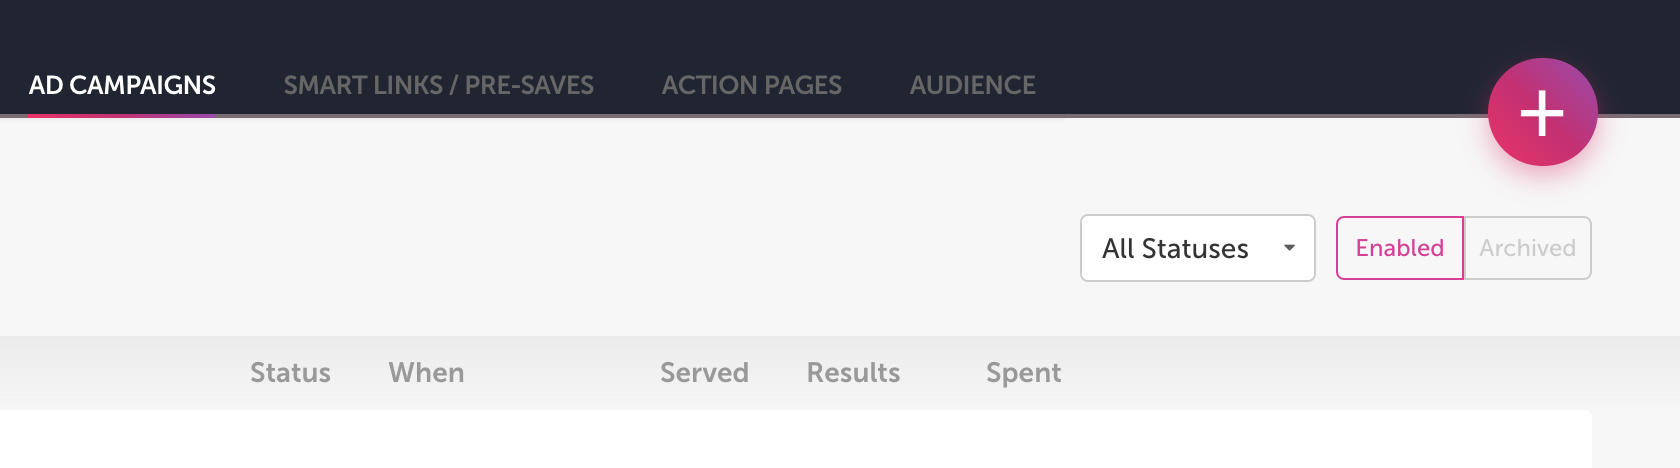
- Click the "Pink Plus Sign" at the top right corner of your campaign page.
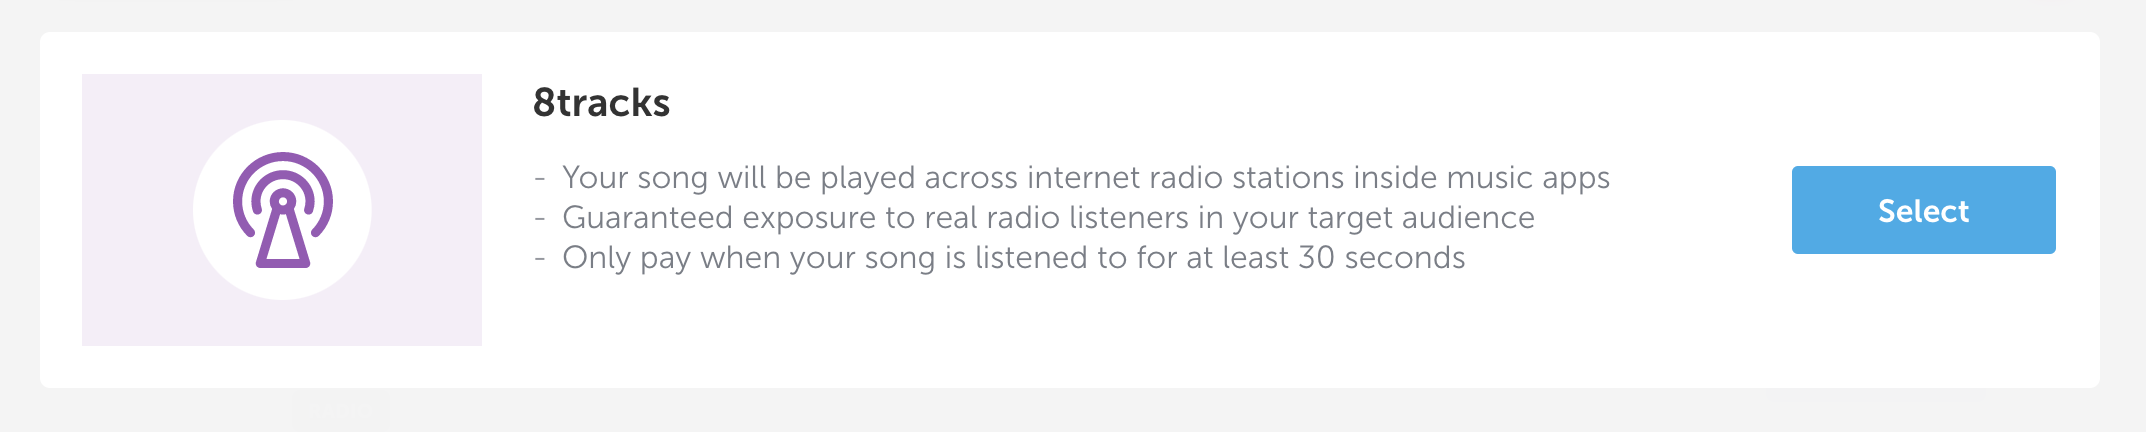
2) Select “8tracks”
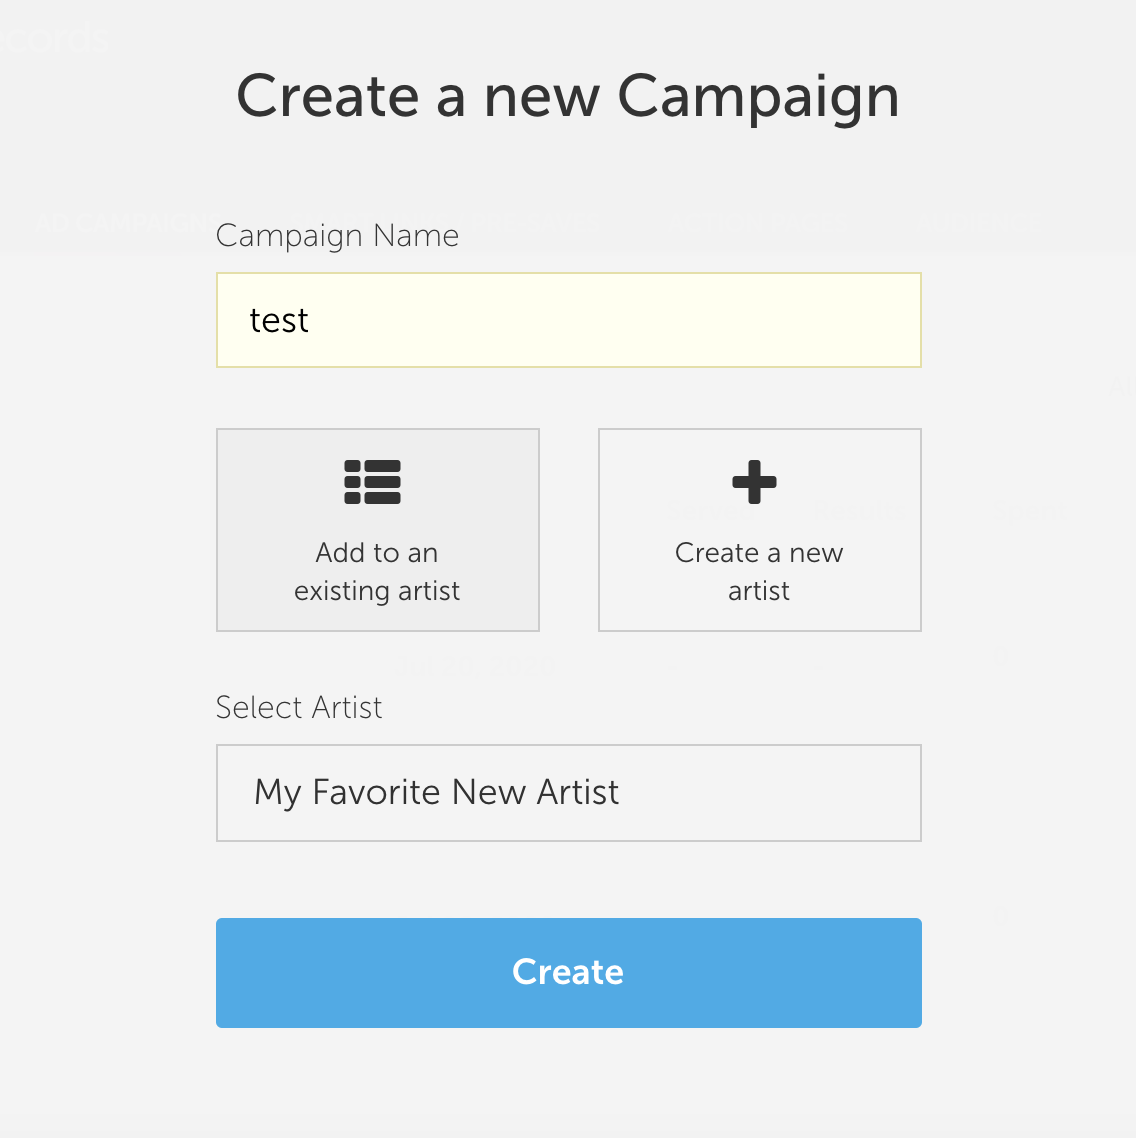
3) You will be prompted to name your campaign. Choose to assign the campaign to either an existing artist profile in your account, or create a new profile:
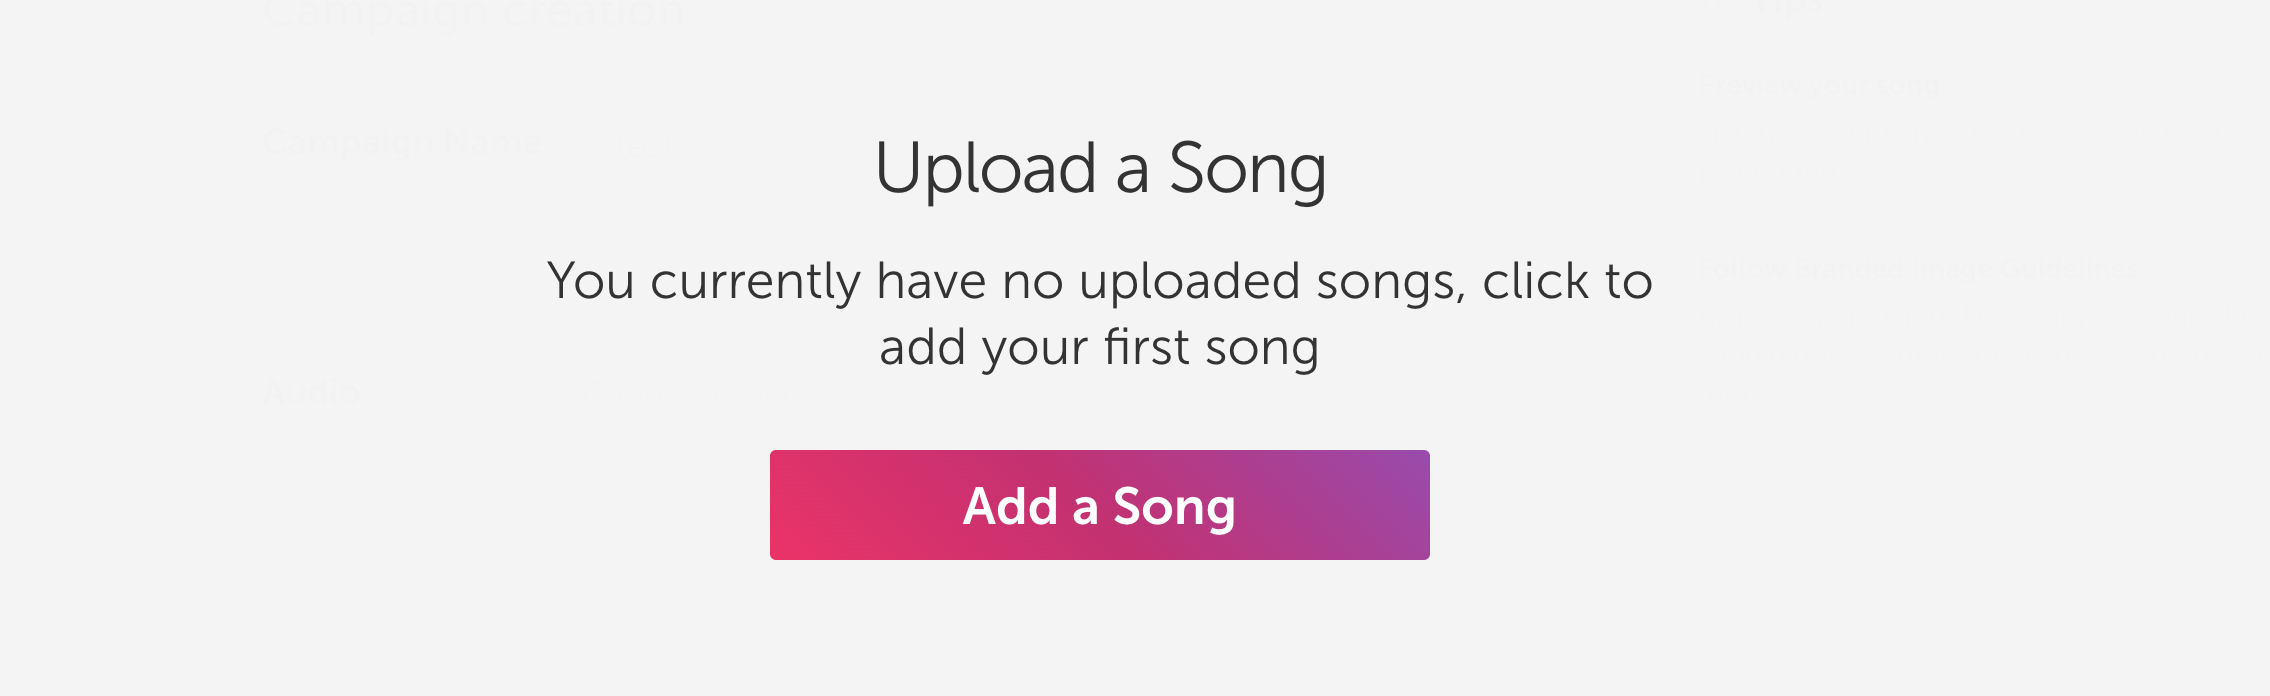
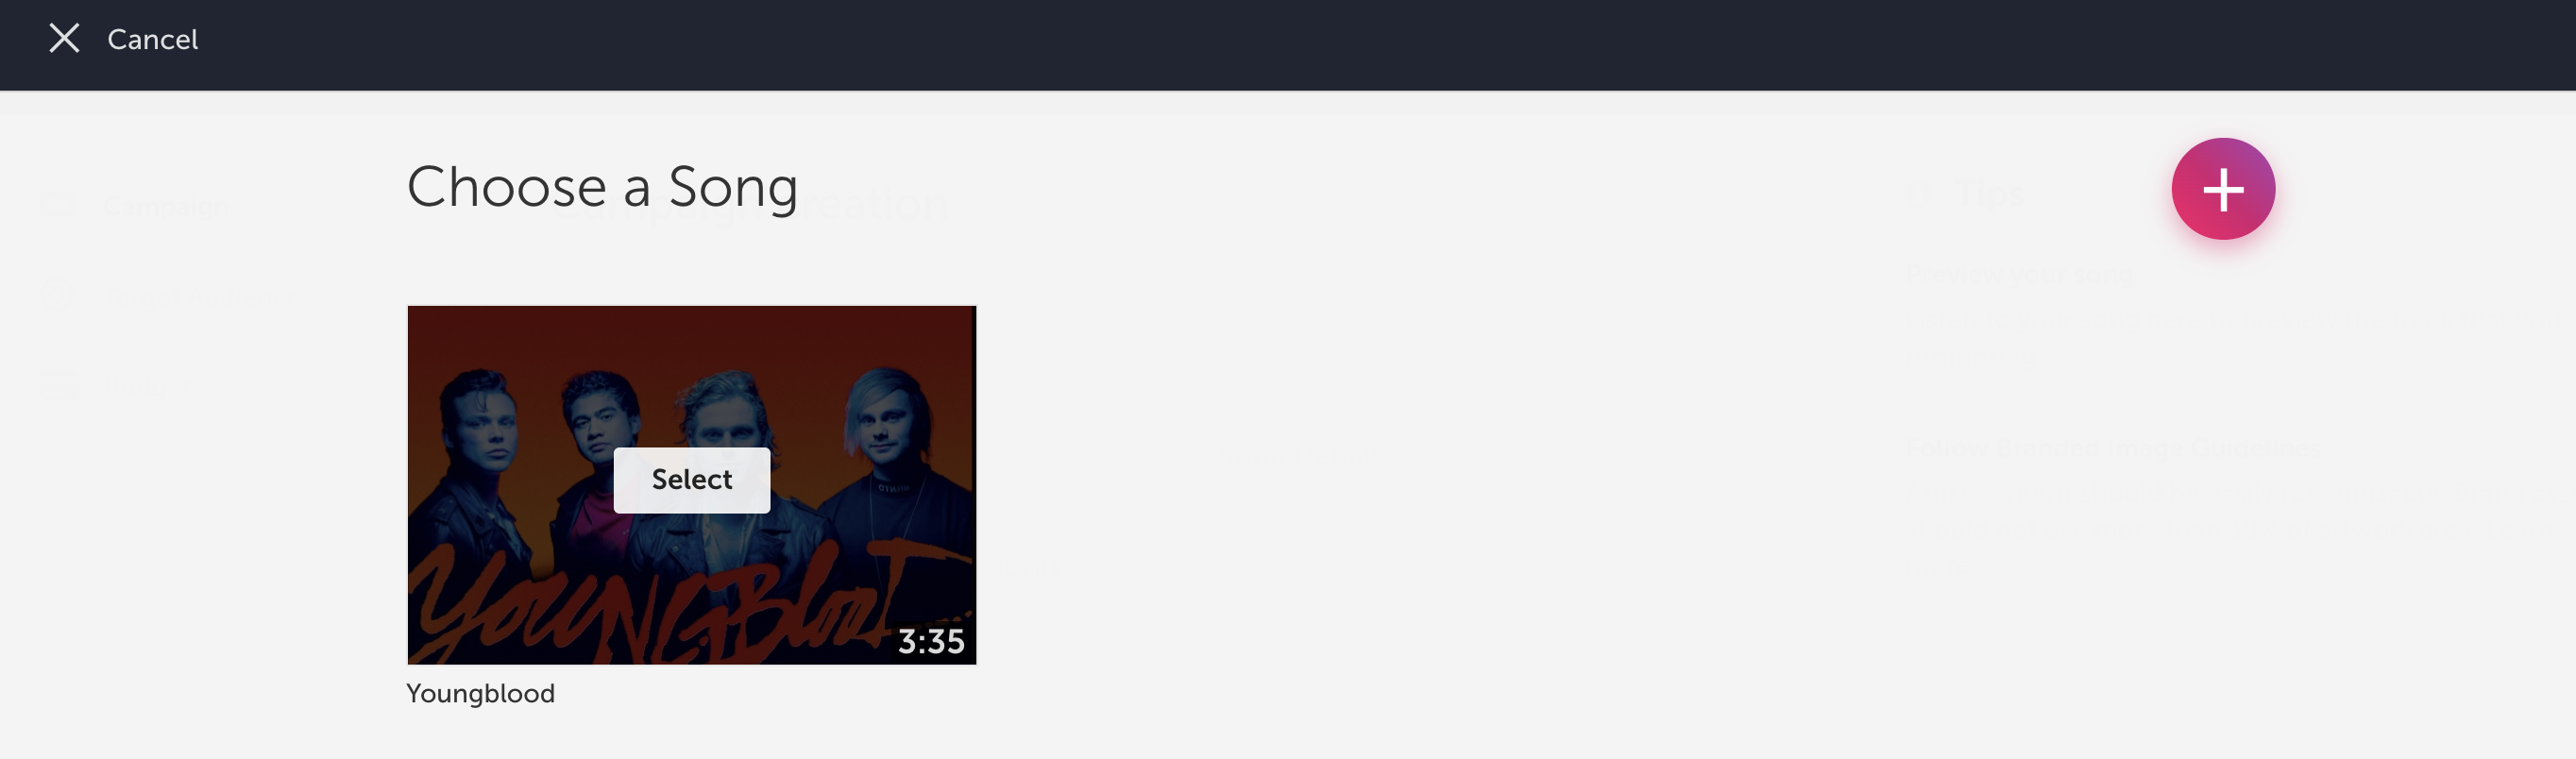
4) Upload a song by selecting the option “Choose a song” It will redirect you to a page where you will be able to upload your track. We are compatible with .mp3 format only, not .wav.
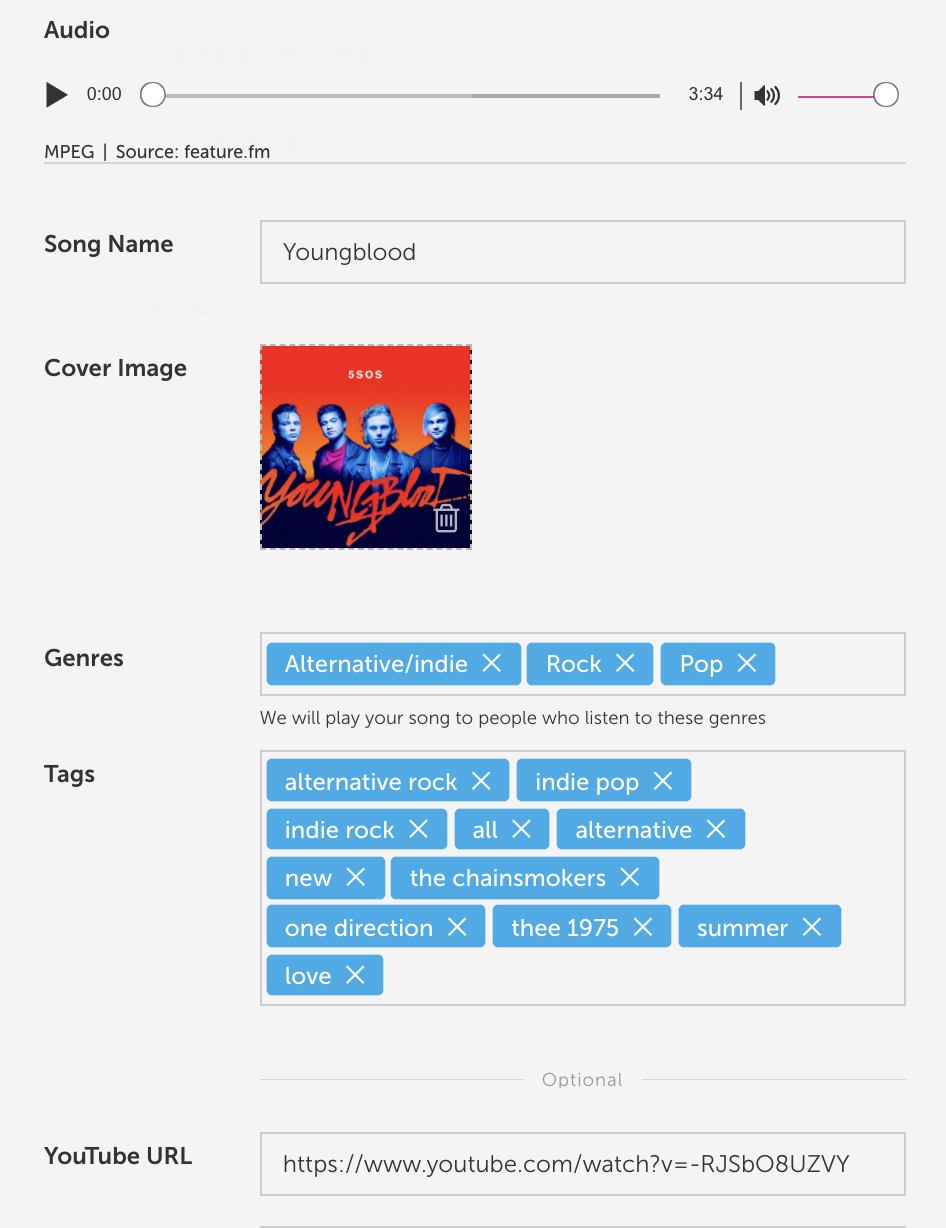
5) Indicate your song title, upload your image and select you genres and tags.
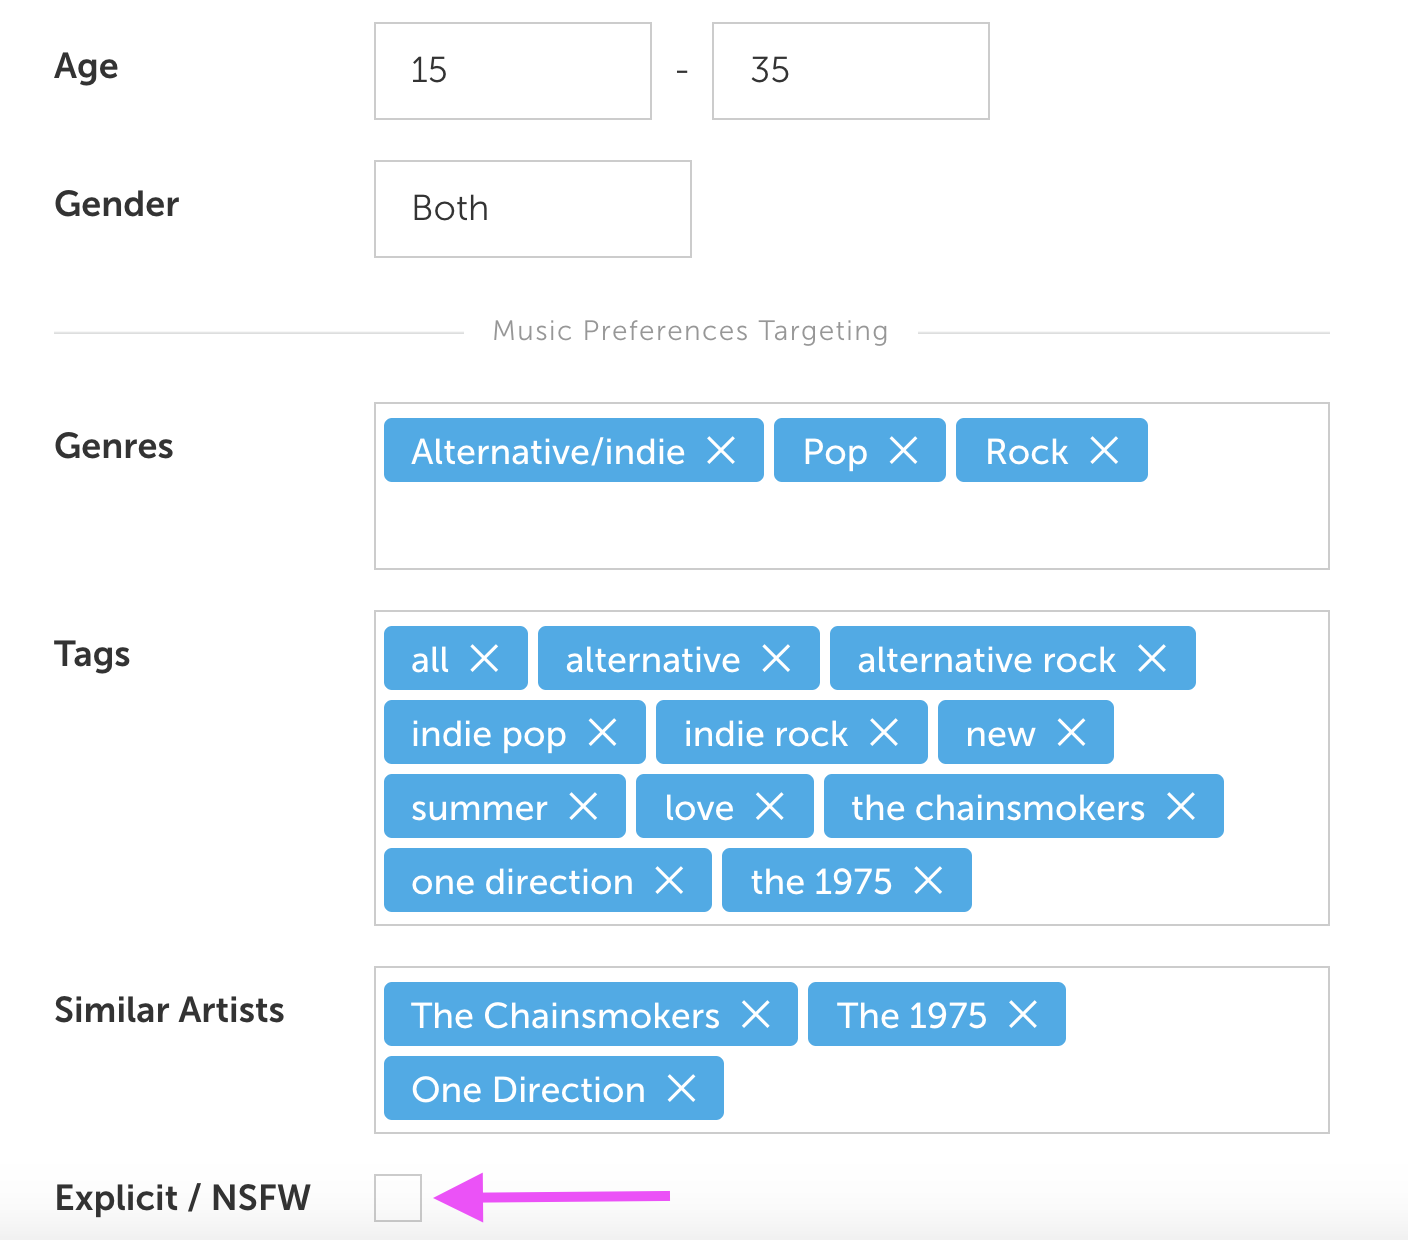
6) Target your audience by specifying designated age range and genders. Include only relevant genres, and a nice amount of relevant, similar artists to target against (around 8 - 10 are suggested). Check the Explicit/NSFW bar if your music contains any explicit material.
Please note that geo targeting is not available with the Internet Radio Campaign; you can expect the majority of your plays to come from North America.
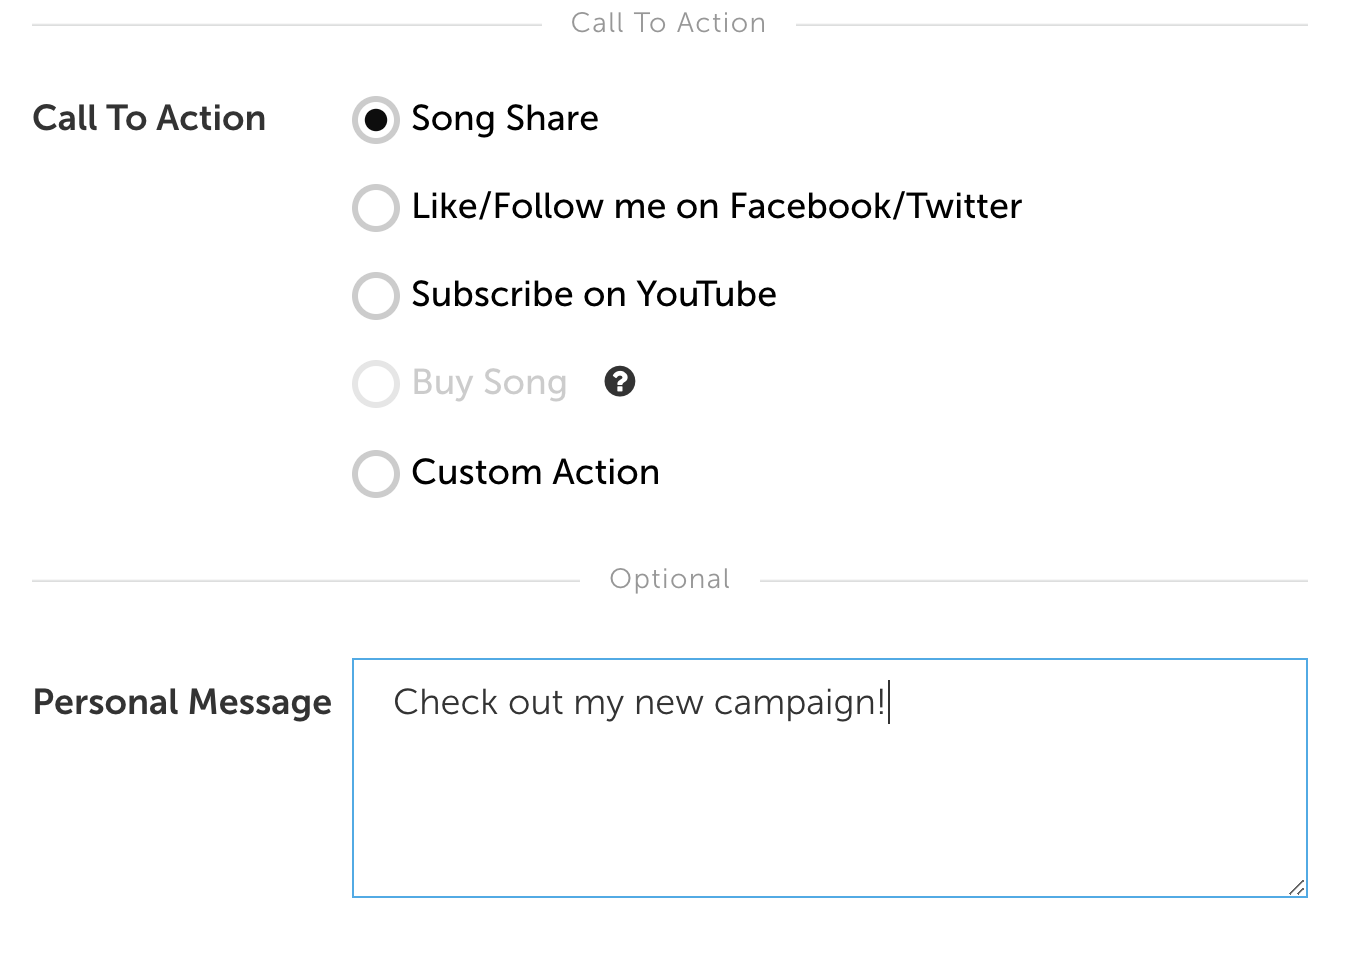
7) Select your Call To Action: To use Facebook or YouTube options, please make sure to fill out your social channels in you overall account settings.
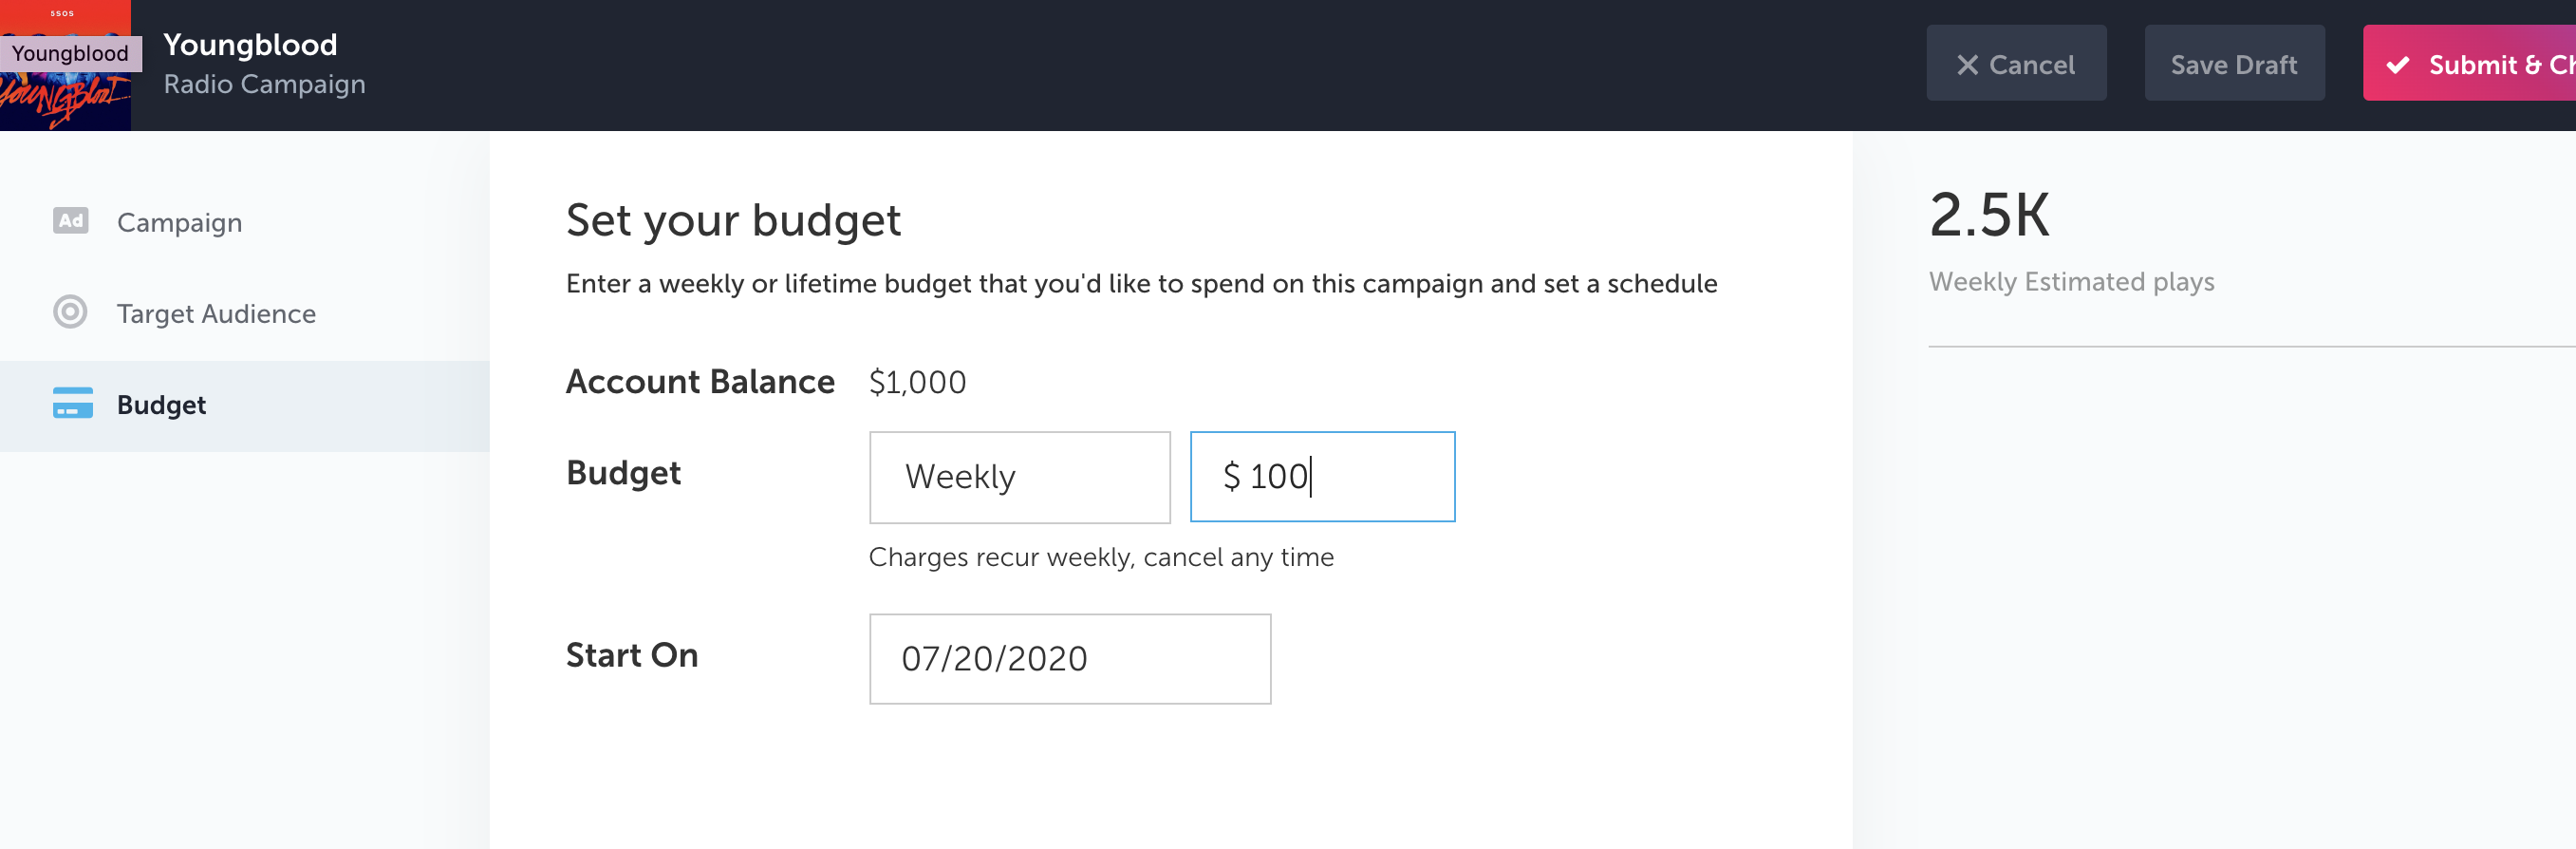
8) Fill in your designated budget, and set your start date.
Lifetime: One time budget, no more fees will be charged after the amount spent.
Weekly: A selected budget that will be charged every week recurring, until you cancel the subscription.
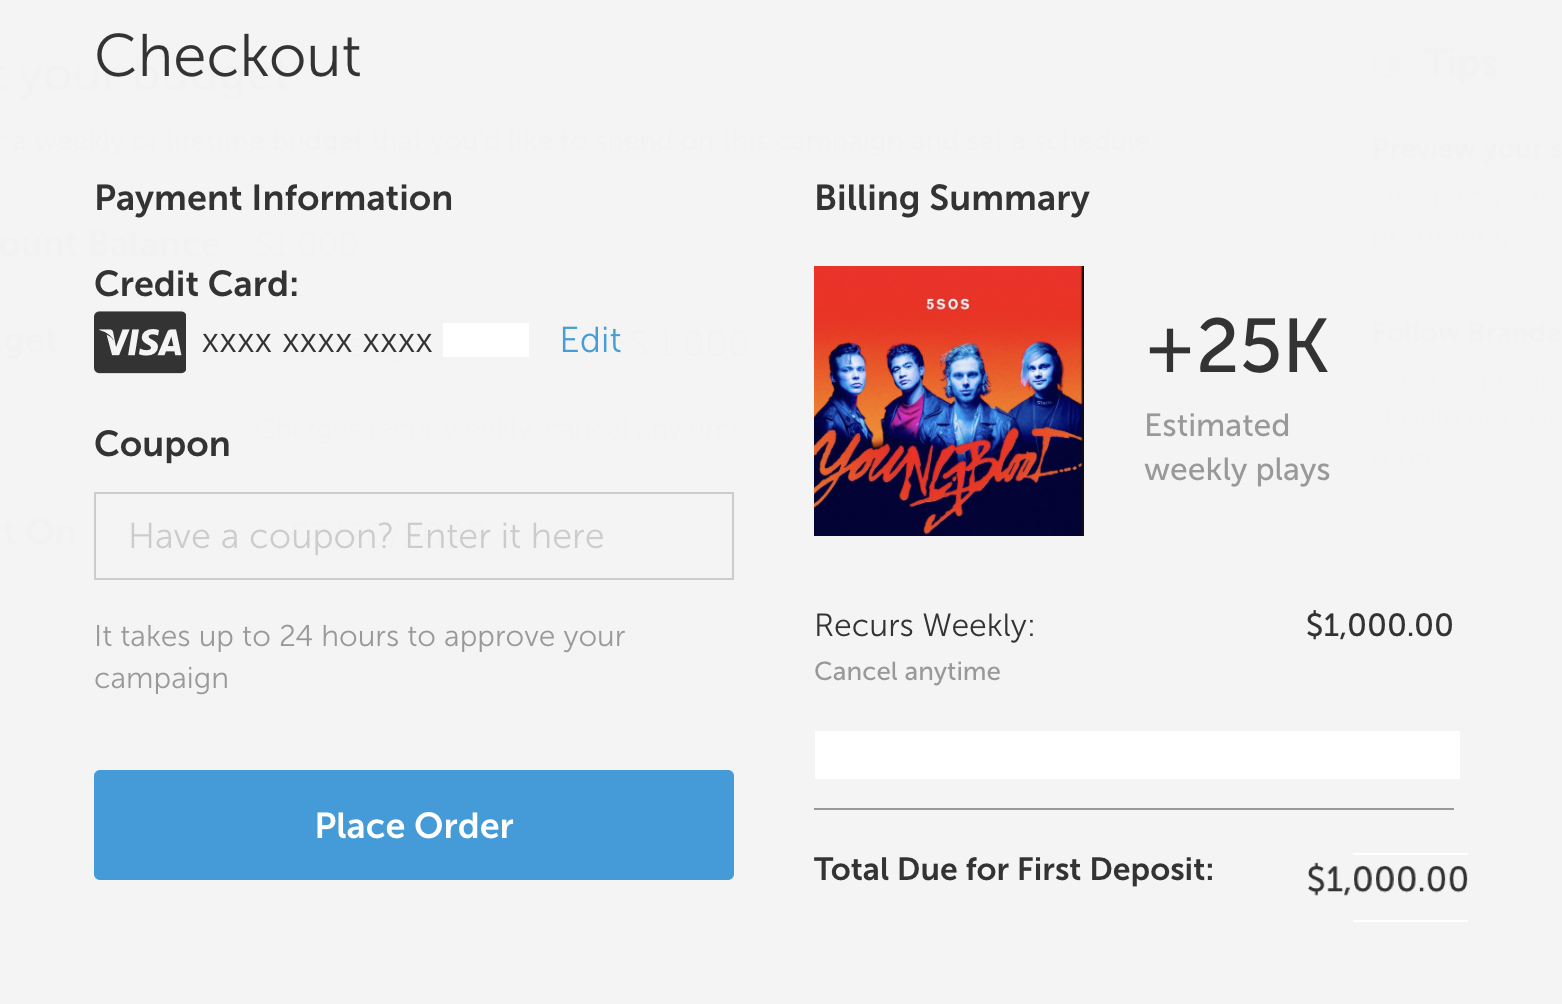
9) Submit your campaign for approval by filling out your payment information and placing the order.